[파이썬 플라스크] 블로그 웹 애플리케이션 개발 - 디자인 템플릿 사용
업데이트:
정적 파일 다루기
flask 공식 문서를 확인해보면 정적파일은 /static 디렉토리에 위치하고, url_for('static', filename='...') 로 참조한다고 나와있다.
Bootstrap 사용하기
블로그에 디자인을 적용해보자.
https://startbootstrap.com/theme/clean-blog에서 템플릿을 받아준다.
다운 받은 파일 중에서 html 파일을 templates 폴더 안에 넣어준다.
그 다음 아래 두 함수를 수정해준다.
views.py
1
2
3
4
5
6
7
@views.route("/")
def home():
    return render_template("index.html")

@views.route("/about")
def about():
    return render_template("about.html")
이 상태로 앱을 실행한다면 CSS가 하나도 적용되지 않은 페이지가 나올 것이다.
여기서 잠깐 원래 템플릿을 확인해보자면…

우리는 이 중복된 html을 따로 파일로 만들어 관리해줄 것이다.
그러기 위해 먼저 templates 폴더 안에 base.html 파일을 하나 만들어 준다.
이 파일에는 중복되는 코드를 작성해줄 것이다.
base.html
1
2
3
4
5
6
7
8
9
10
11
12
13
14
15
16
17
18
19
20
21
22
23
24
25
26
27
28
29
30
31
32
33
34
35
36
37
38
39
40
41
42
43
44
45
46
47
48
49
50
51
52
53
54
55
56
57
58
59
60
61
62
63
64
65
66
67
68
69
70
71
72
73
74
75
76
77
78
79
80
81
82
83
84
85
86
87
88
89
90
91
92
93
94
95
96
97
98
99
100
101
102
103
104
<!DOCTYPE html>
<html lang="en">
<head>
<meta charset="utf-8" />
<meta name="viewport" content="width=device-width, initial-scale=1, shrink-to-fit=no" />
<meta name="description" content="" />
<meta name="author" content="" />
{# 변화하는 부분 #}
<title>{% block title %}{% endblock %}</title>
<link rel="icon" type="image/x-icon" href="assets/favicon.ico" />
<!-- Font Awesome icons (free version)-->
<script src="https://use.fontawesome.com/releases/v6.1.0/js/all.js" crossorigin="anonymous"></script>
<!-- Google fonts-->
<link href="https://fonts.googleapis.com/css?family=Lora:400,700,400italic,700italic" rel="stylesheet" type="text/css" />
<link
href="https://fonts.googleapis.com/css?family=Open+Sans:300italic,400italic,600italic,700italic,800italic,400,300,600,700,800"
rel="stylesheet"
type="text/css"
/>
<!-- Core theme CSS (includes Bootstrap)-->
<link href="{{ url_for('static', filename='css/styles.css') }}" rel="stylesheet" />
</head>
<body>
<!-- Navigation-->
<nav class="navbar navbar-expand-lg navbar-light" id="mainNav">
<div class="container px-4 px-lg-5">
<a class="navbar-brand" href="{{ url_for('views.home') }}">Taelog</a>
<button
class="navbar-toggler"
type="button"
data-bs-toggle="collapse"
data-bs-target="#navbarResponsive"
aria-controls="navbarResponsive"
aria-expanded="false"
aria-label="Toggle navigation"
>
Menu
<i class="fas fa-bars"></i>
</button>
<div class="collapse navbar-collapse" id="navbarResponsive">
<ul class="navbar-nav ms-auto py-4 py-lg-0">
<li class="nav-item"><a class="nav-link px-lg-3 py-3 py-lg-4" href="{{ url_for('views.home') }}">Home</a></li>
<li class="nav-item"><a class="nav-link px-lg-3 py-3 py-lg-4" href="{{ url_for('views.about') }}">About</a></li>
<li class="nav-item"><a class="nav-link px-lg-3 py-3 py-lg-4" href="{{ url_for('views.categories_list') }}">Categories</a></li>
<li class="nav-item"><a class="nav-link px-lg-3 py-3 py-lg-4" href="{{ url_for('views.contact') }}">Contact</a></li>
<li class="nav-item"><a class="nav-link px-lg-3 py-3 py-lg-4" href="{{ url_for('auth.signup') }}">Sign Up</a></li>
<li class="nav-item"><a class="nav-link px-lg-3 py-3 py-lg-4" href="{{ url_for('auth.login') }}">Login</a></li>
</ul>
</div>
</div>
</nav>
{# 변화하는 부분 #}
{% block header %}{% endblock %}
{# 변화하는 부분 #}
<div class="content-wrapper">{% block content %}{% endblock %}</div>
<!-- Footer-->
<footer class="border-top">
<div class="container px-4 px-lg-5">
<div class="row gx-4 gx-lg-5 justify-content-center">
<div class="col-md-10 col-lg-8 col-xl-7">
<ul class="list-inline text-center">
<li class="list-inline-item">
<a href="#!">
<span class="fa-stack fa-lg">
<i class="fas fa-circle fa-stack-2x"></i>
<i class="fab fa-twitter fa-stack-1x fa-inverse"></i>
</span>
</a>
</li>
<li class="list-inline-item">
<a href="#!">
<span class="fa-stack fa-lg">
<i class="fas fa-circle fa-stack-2x"></i>
<i class="fab fa-facebook-f fa-stack-1x fa-inverse"></i>
</span>
</a>
</li>
<li class="list-inline-item">
<a href="#!">
<span class="fa-stack fa-lg">
<i class="fas fa-circle fa-stack-2x"></i>
<i class="fab fa-github fa-stack-1x fa-inverse"></i>
</span>
</a>
</li>
</ul>
<div class="small text-center text-muted fst-italic">Copyright © Taeyoung 2022</div>
</div>
</div>
</div>
</footer>
<!-- Bootstrap core JS-->
<script src="https://cdn.jsdelivr.net/npm/bootstrap@5.1.3/dist/js/bootstrap.bundle.min.js"></script>
<!-- Core theme JS-->
<script src="{{ url_for('static', filename='js/scripts.js') }}"></script>
</body>
</html>
위 코드에서 CSS와 JavsScript 부분을 보면,
<!-- Core theme CSS (includes Bootstrap)-->
<link href="{{ url_for('static', filename='css/styles.css') }}" rel="stylesheet"/>
<!-- Core theme JS-->
<script src="{{ url_for('static', filename='js/scripts.js') }}"></script>
둘 다 url_for()를 사용해 static 폴더 안에 들어있는 것을 확인할 수 있다.
이와 같이 정적 파일들(css, js, assets)을 모두 static 폴더에 넣어주도록 하자.
앞으로 이미지나 a 태그에도 url_for()를 사용하면 되겠다.
그럼 이제 만들어 둔 base.html을 상속 받아 다른 html 파일들을 수정해보자.
index.html
1
2
3
4
5
6
7
8
9
10
11
12
13
14
15
16
17
18
19
20
21
22
23
24
25
26
27
28
29
30
31
32
33
34
35
36
37
38
39
40
41
42
43
44
45
46
47
48
49
50
51
52
53
54
55
56
57
58
59
60
61
62
63
64
65
66
67
68
69
70
71
72
73
74
75
76
77
78
79
80
81
82
83
84
85
86
{% extends 'base.html' %}

{% block title %}This is home.{% endblock %}

{% block header %}
<!-- Page Header-->
<header class="masthead" style="background-image: url( {{ url_for('static', filename='assets/img/home-bg.jpg') }} )">
    <div class="container position-relative px-4 px-lg-5">
    <div class="row gx-4 gx-lg-5 justify-content-center">
        <div class="col-md-10 col-lg-8 col-xl-7">
        <div class="site-heading">
            <h1>Taelog</h1>
            <span class="subheading">Made by Flask web framwork.</span>
        </div>
        </div>
    </div>
    </div>
</header>
{% endblock %}

{% block content %}
<!-- Main Content-->
<div class="container px-4 px-lg-5">
    <div class="row gx-4 gx-lg-5 justify-content-center">
    <div class="col-md-10 col-lg-8 col-xl-7">
        <!-- Post preview-->
        <div class="post-preview">
        <a href="post_detail.html">
            <h2 class="post-title">Man must explore, and this is exploration at its greatest</h2>
            <h3 class="post-subtitle">Problems look mighty small from 150 miles up</h3>
        </a>
        <p class="post-meta">
            Posted by
            <a href="#!">Start Bootstrap</a>
            on September 24, 2022
        </p>
        </div>
        <!-- Divider-->
        <hr class="my-4" />
        <!-- Post preview-->
        <div class="post-preview">
        <a href="post_detail.html"
            ><h2 class="post-title">I believe every human has a finite number of heartbeats. I don't intend to waste any of mine.</h2></a
        >
        <p class="post-meta">
            Posted by
            <a href="#!">Start Bootstrap</a>
            on September 18, 2022
        </p>
        </div>
        <!-- Divider-->
        <hr class="my-4" />
        <!-- Post preview-->
        <div class="post-preview">
        <a href="post_detail.html">
            <h2 class="post-title">Science has not yet mastered prophecy</h2>
            <h3 class="post-subtitle">We predict too much for the next year and yet far too little for the next ten.</h3>
        </a>
        <p class="post-meta">
            Posted by
            <a href="#!">Start Bootstrap</a>
            on August 24, 2022
        </p>
        </div>
        <!-- Divider-->
        <hr class="my-4" />
        <!-- Post preview-->
        <div class="post-preview">
        <a href="post_detail.html">
            <h2 class="post-title">Failure is not an option</h2>
            <h3 class="post-subtitle">Many say exploration is part of our destiny, but it’s actually our duty to future generations.</h3>
        </a>
        <p class="post-meta">
            Posted by
            <a href="#!">Start Bootstrap</a>
            on July 8, 2022
        </p>
        </div>
        <!-- Divider-->
        <hr class="my-4" />
        <!-- Pager-->
        <div class="d-flex justify-content-end mb-4"><a class="btn btn-primary text-uppercase" href="#!">Older Posts →</a></div>
    </div>
    </div>
</div>
{% endblock %}
수정한 코드를 보면 html의 head나 body 태그가 안보인다.
이는 index.html 맨 윗줄의 {% *extends* 'base.html' %} 덕분이다.
base.html을 상속 받았기 때문에 변화하는 부분만 {% block %} 으로 감싸서 작성해주면 되는 것이다.
그게 바로 {% *block* title %}This is home.{% *endblock* %}, {% *block* header %} … {% *endblock* %} 이런 아이들이다.
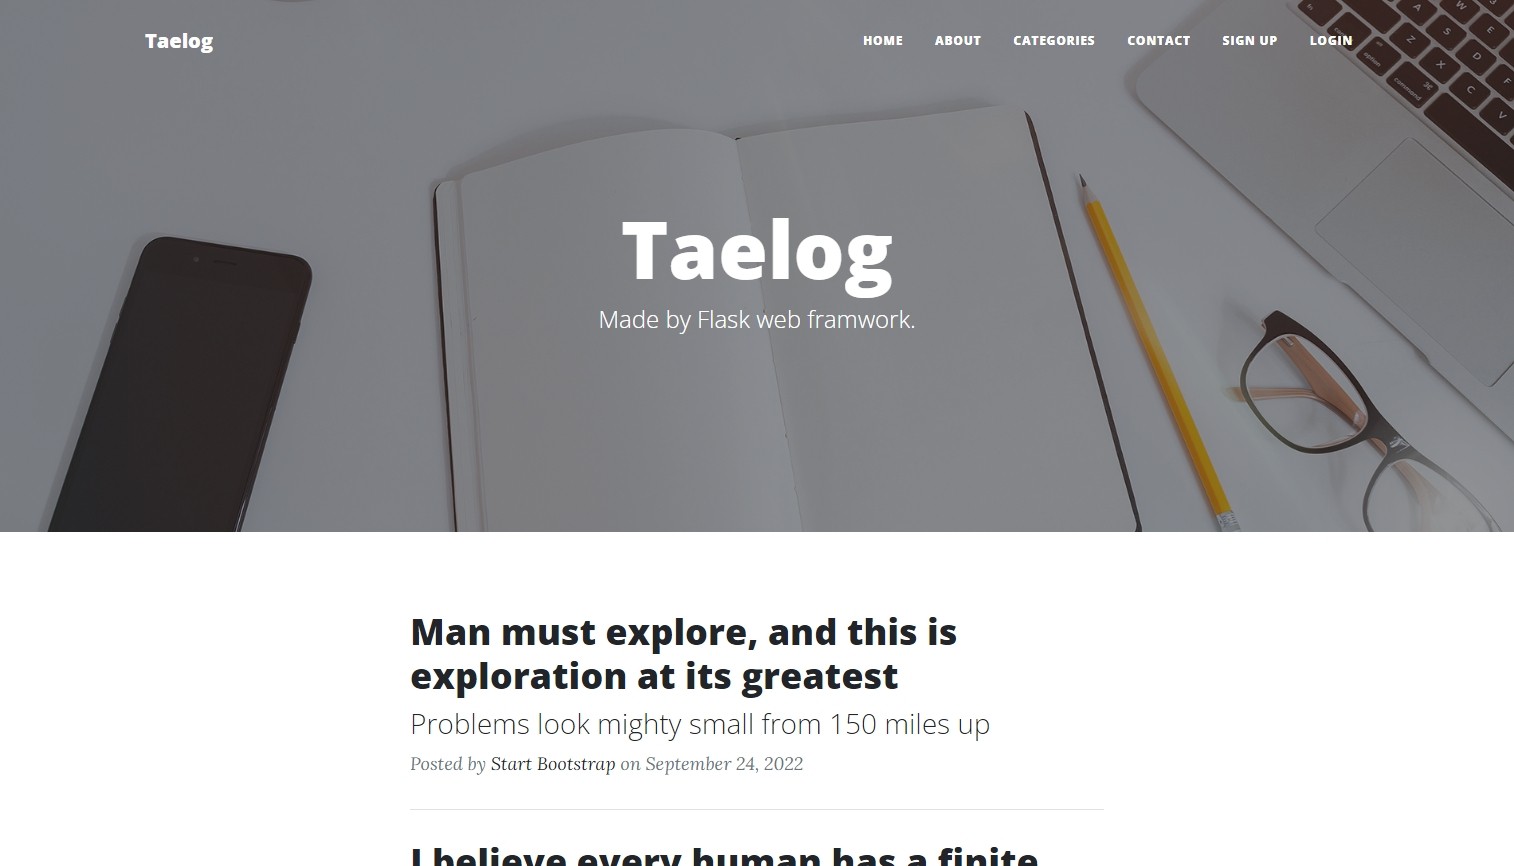
이제 블로그의 다른 템플릿도 만들어보자.
홈과 about 페이지 말고도 카테고리나 로그인, 회원가입 페이지도 만드려고 한다.
따라서 아래와 같은 템플릿들을 만들어주었다.
templates
 ├─base.html : 중복 html
 ├─index.html : 메인
 ├─about.html : about
 ├─categories_list.html : 카테고리 리스트
 ├─contact.html : contact form
 ├─signup.html : 회원가입
 ├─login.html : 로그인
 ├─logout.html : 로그아웃
 ├─post_detail.html : post.html을 활용
 └─post_list.html : 메인 페이지보다 post를 더 많이 보여주게
라우팅 코드의 경우 아래와 같이 작성해주었다.
auth.py
1
2
3
4
5
6
7
8
9
10
11
12
13
14
15
from flask import Blueprint, render_template, redirect

auth = Blueprint("auth", __name__)

@auth.route("/login")
def login():
    return render_template("login.html")

@auth.route("/logout")
def logout():
    return redirect("views.blog_home")  # 로그아웃하면 views의 blog_home으로 리다이렉트됨

@auth.route("/sign-up")
def signup():
    return render_template("signup.html")
view.py
1
2
3
4
5
6
7
8
9
10
11
12
13
14
15
16
17
18
19
20
21
22
23
24
25
26
27
from flask import Blueprint, render_template

views = Blueprint("views", __name__)

@views.route("/")
def home():
    return render_template("index.html")

@views.route("/about")
def about():
    return render_template("about.html")

@views.route("/categories-list")
def categories_list():
    return render_template("categories_list.html")

@views.route("/post-list")
def post_list():
    return render_template("post_list.html")

@views.route('posts/<int:id>')
def post_detail():
    return render_template("post_detail.html")

@views.route("/contact")
def contact():
    return render_template("contact.html")
그 외 전체 코드는 이 곳에서 확인 가능하다.
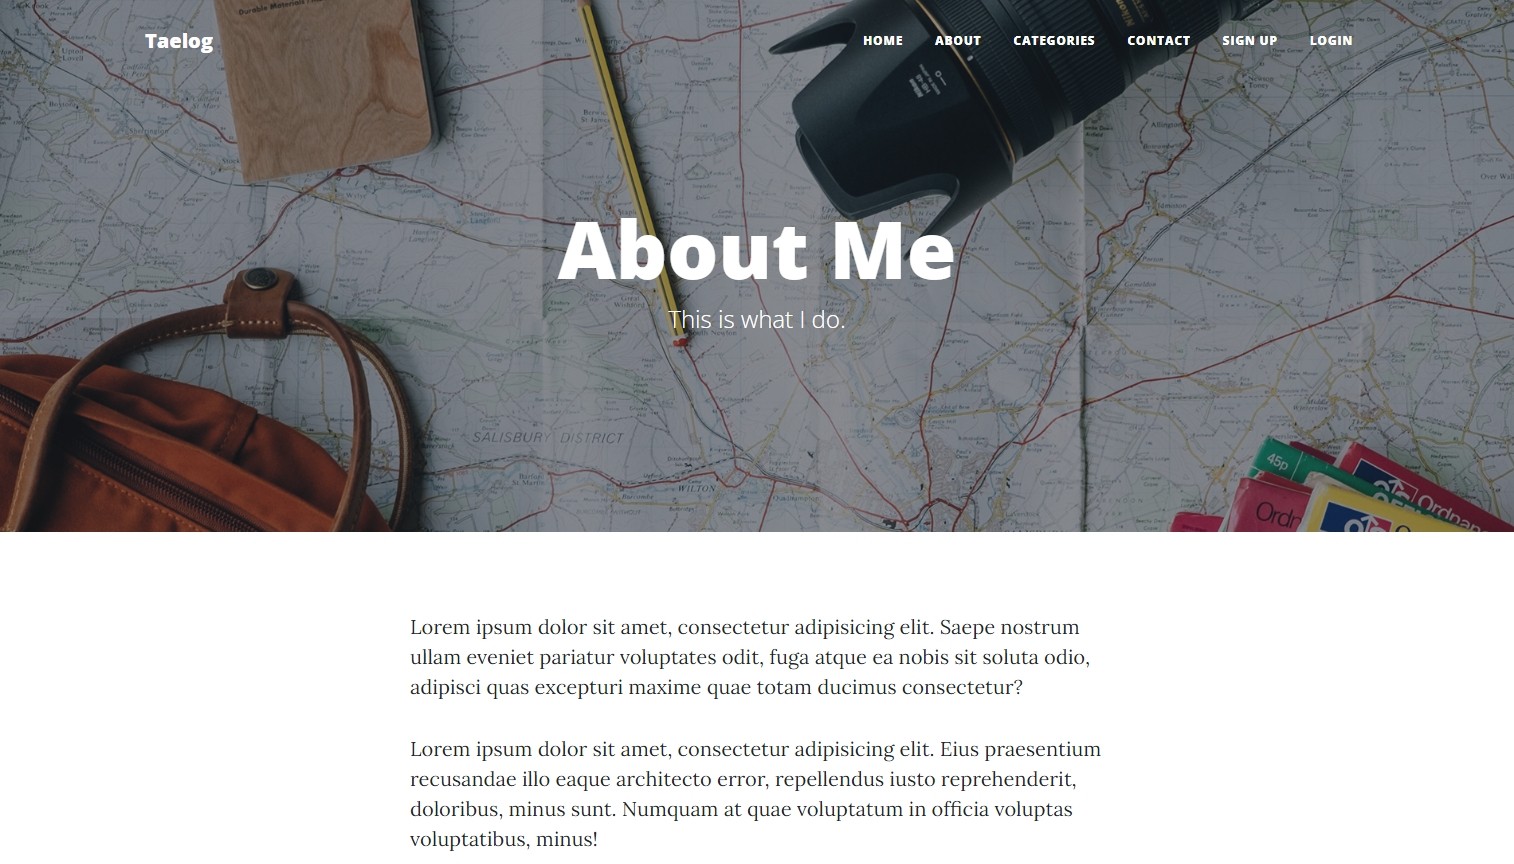
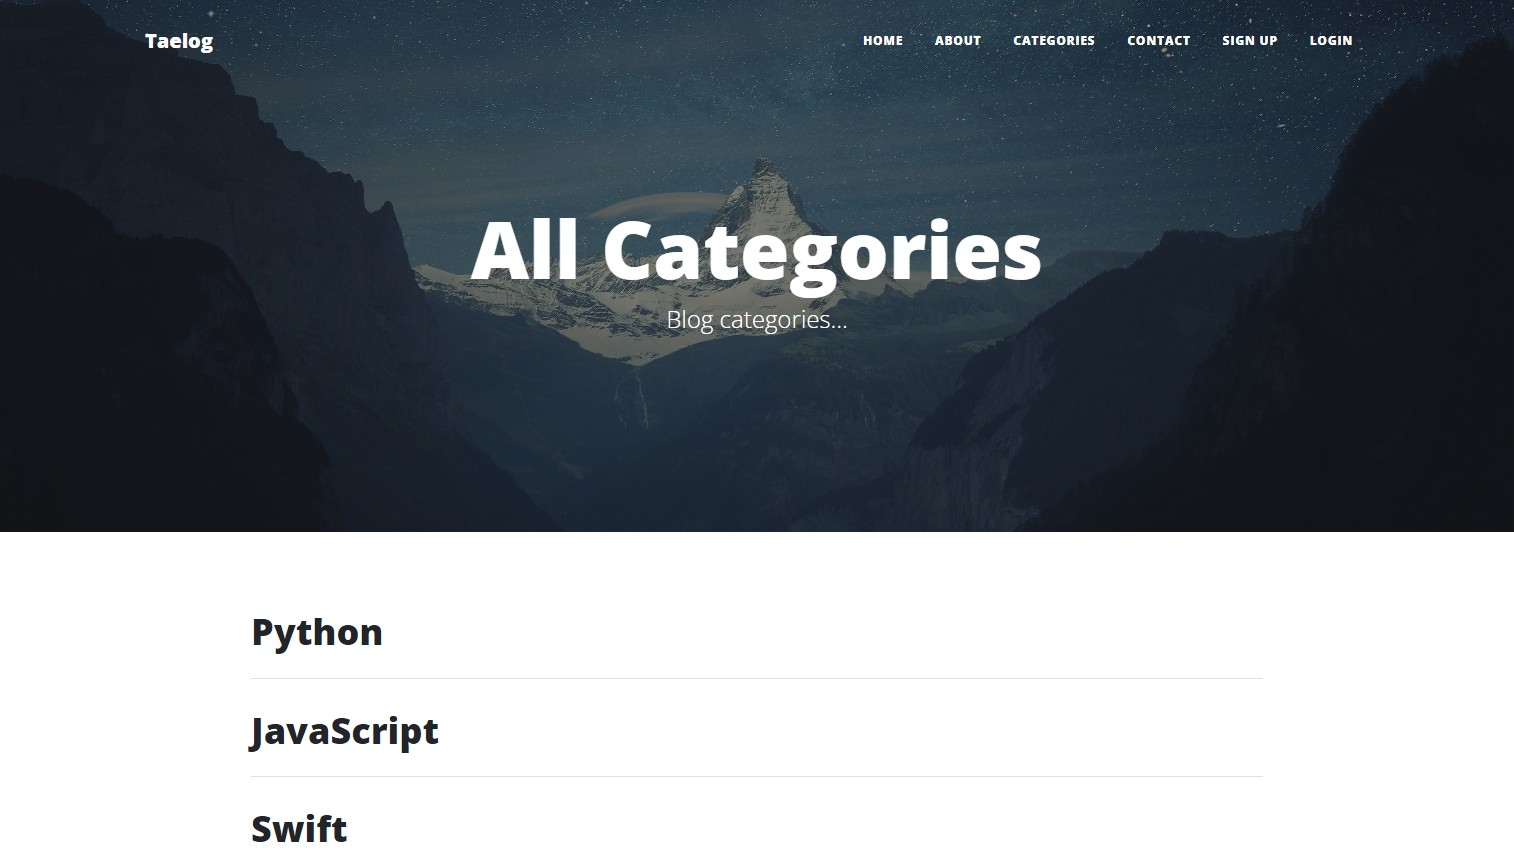
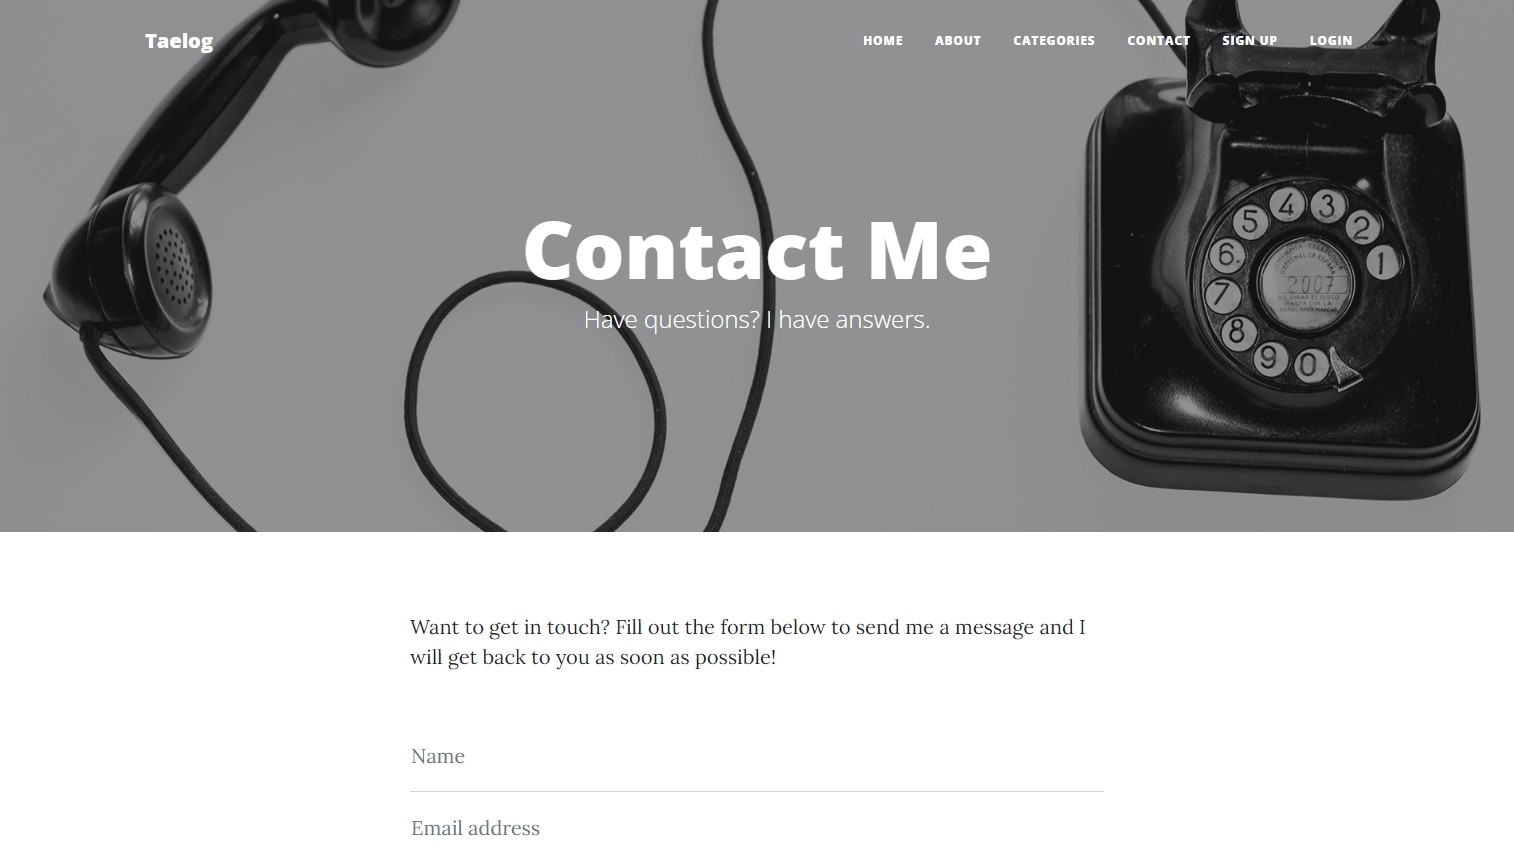
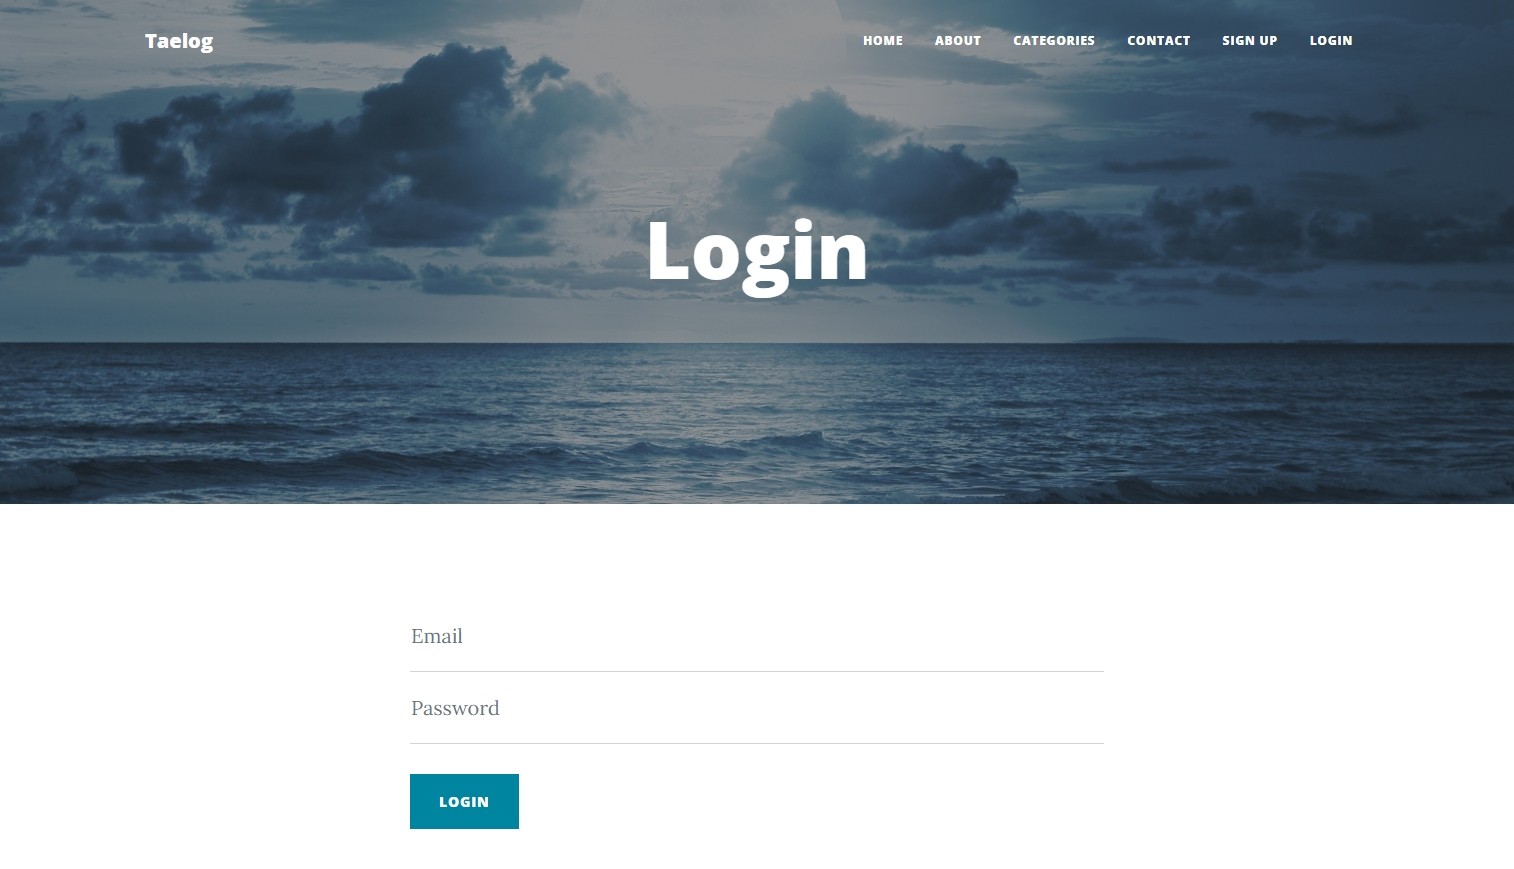
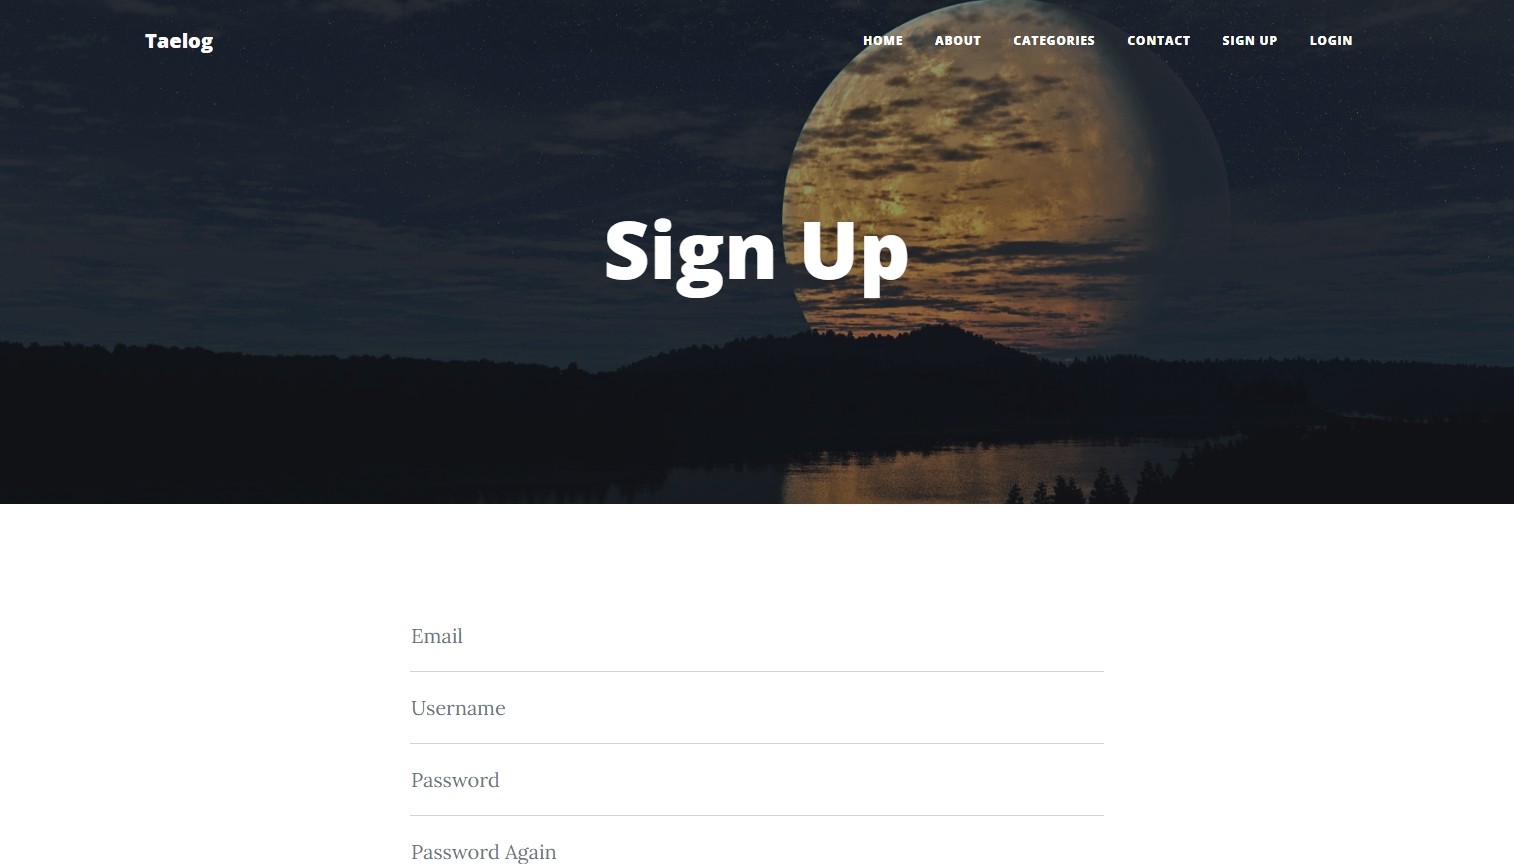
결과적으로 다 작성을 한 경우 아래와 같은 화면들이 나온다.

댓글남기기